
Settings
Security
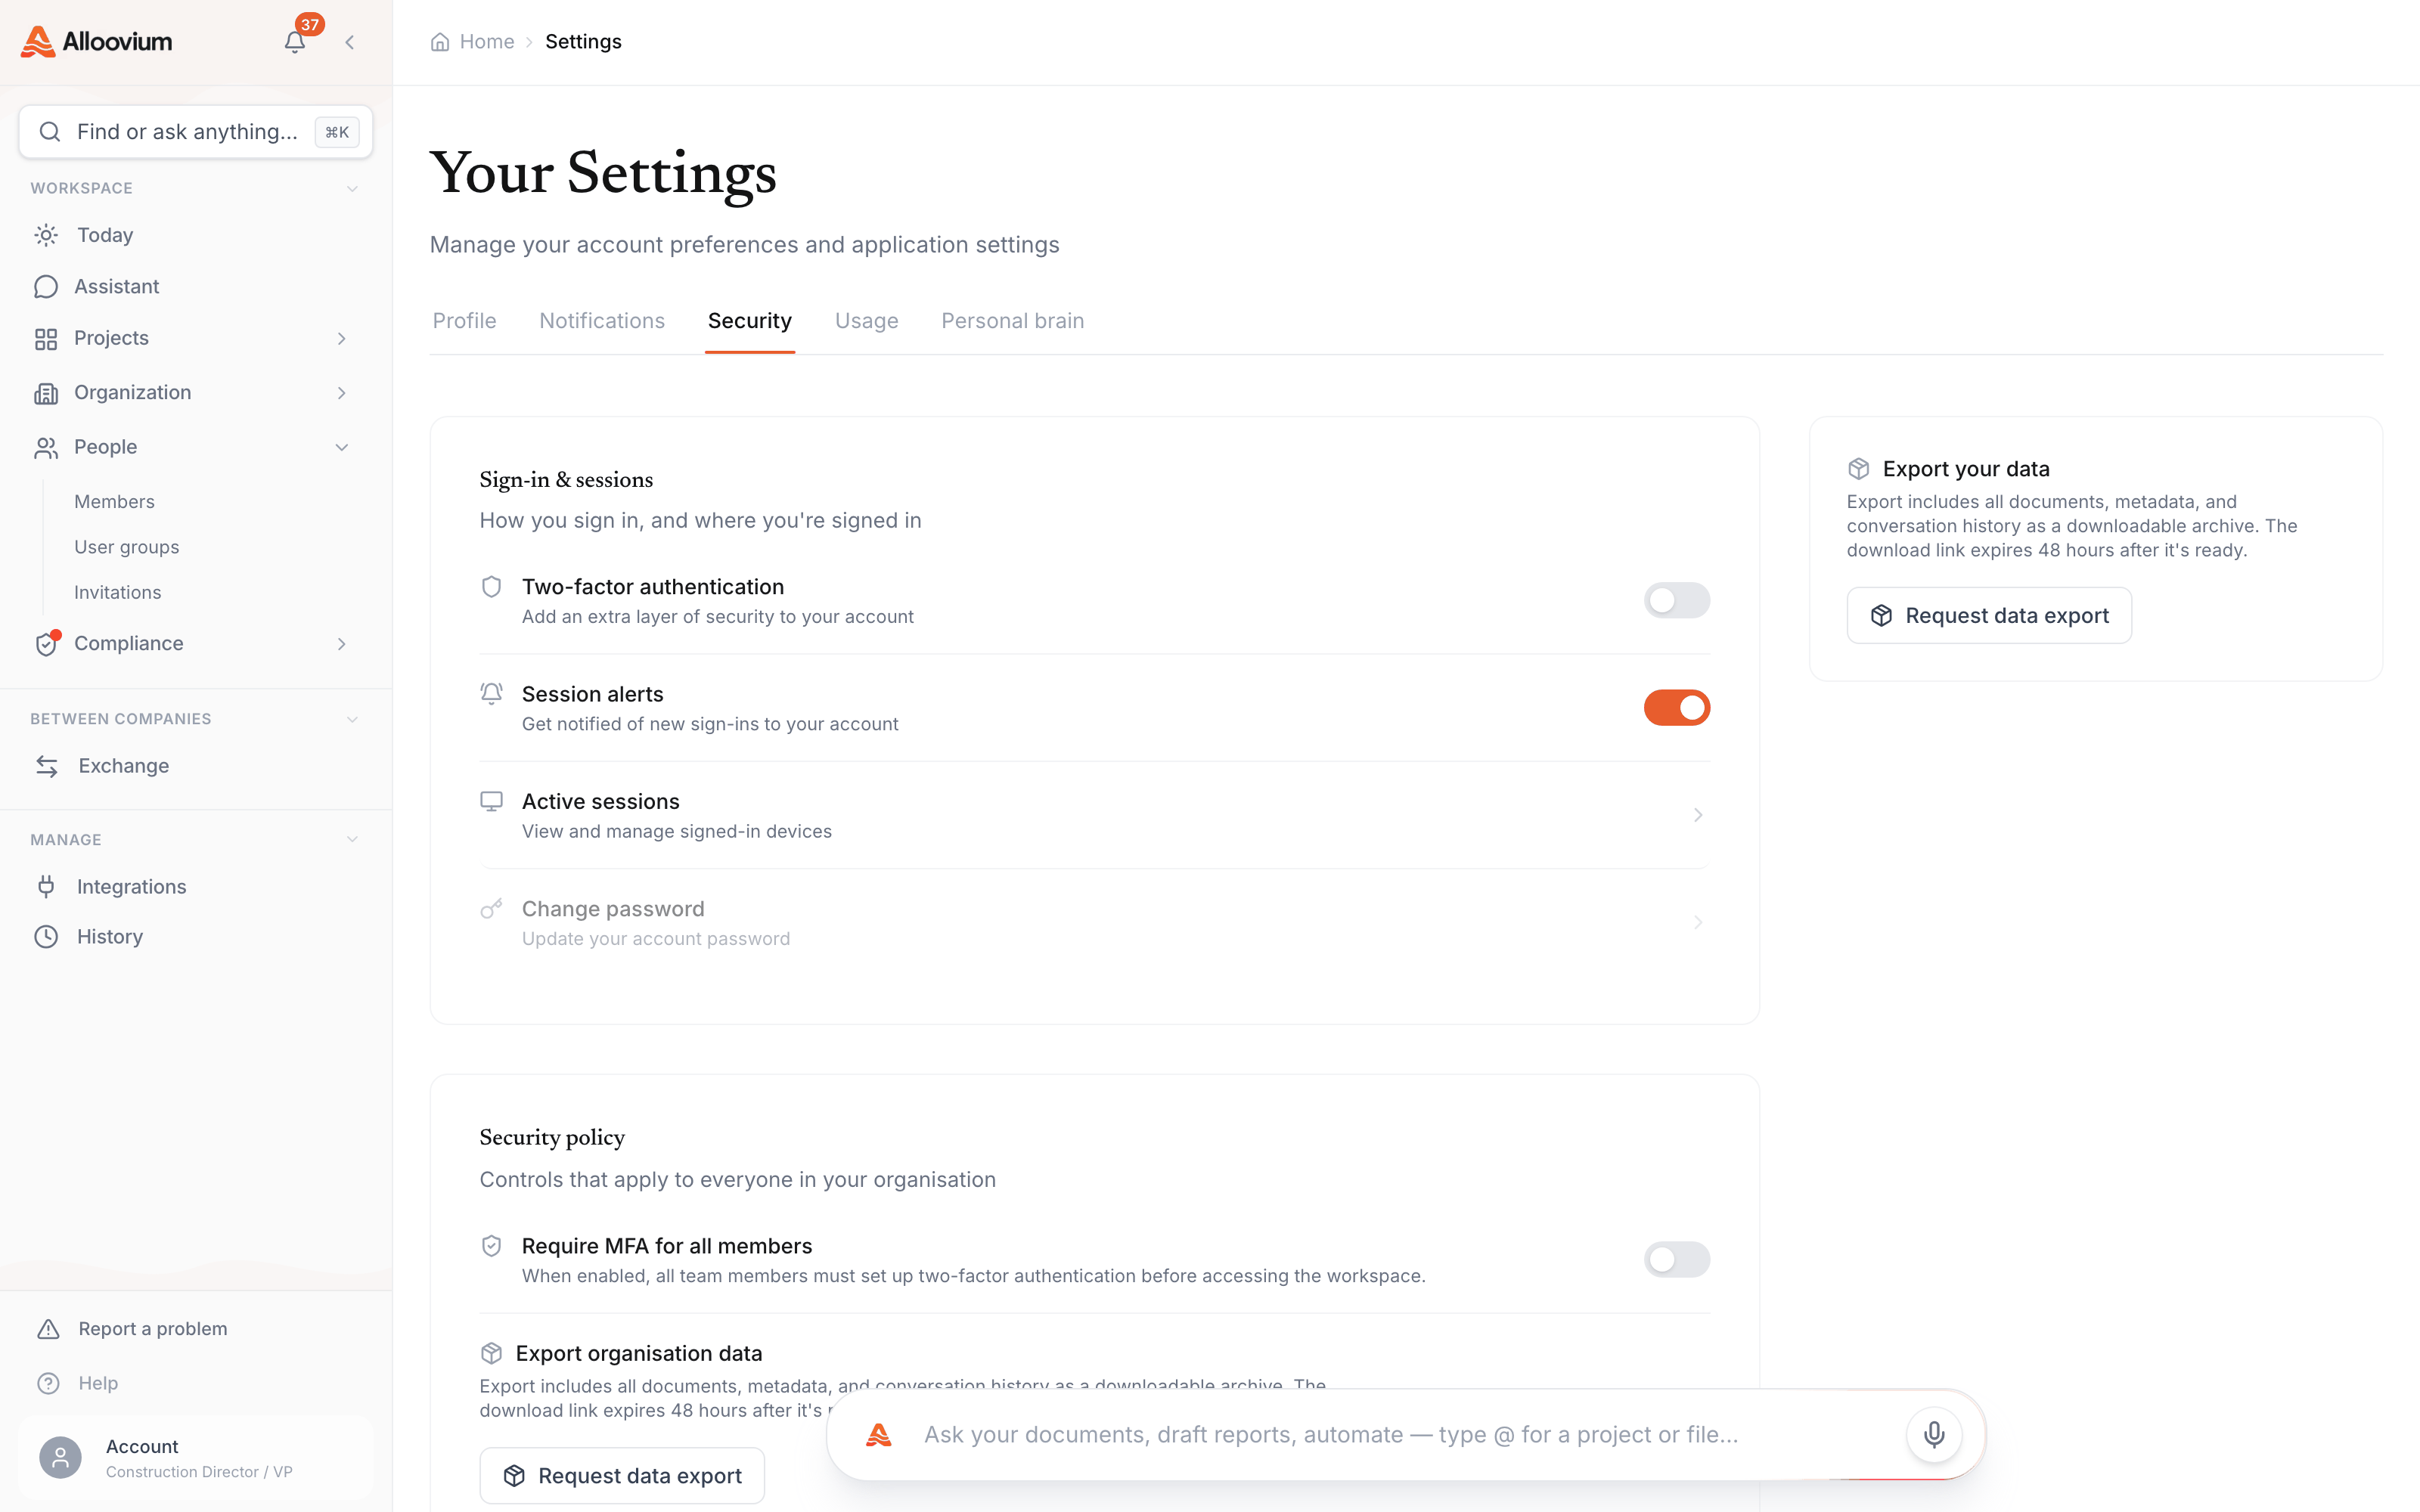
Configure multi-factor authentication, manage active sessions, and set up single sign-on for your organisation.
Security
Alloovium uses Clerk for authentication, which supports single sign-on (SSO) via your organisation's identity provider, multi-factor authentication (MFA), and session management.
Multi-factor authentication (MFA)
MFA adds a second verification step at sign-in, so a stolen password alone is not enough to reach your projects. Alloovium uses authenticator apps (TOTP) — any standard app works.
Open Account Settings → Security
Sign in to Alloovium, open your account menu, and go to the Security tab.
Set up your authenticator app
Scan the QR code with any TOTP app — Google Authenticator, Microsoft Authenticator, 1Password.
Confirm with a code
Enter the six-digit code from your app to verify the pairing and switch MFA on.
Save your recovery codes
Store the one-time recovery codes somewhere safe — they are the only way back into your account if you lose your device.
Single sign-on (SSO)
SSO lets your whole organisation sign in with company credentials through Microsoft Entra ID or Google Workspace, so access follows your identity provider — join, leave, and password policy included.
Talk to your organisation admin
SSO is configured for the whole organisation, not per user. If you are not the admin, this is a request, not a setting.
Connect your identity provider
Your admin arranges the Entra ID or Google Workspace connection with Alloovium — usually during onboarding, before inviting people at scale.
Sign in through your IdP
Once enabled, members pick "Continue with Microsoft/Google" at sign-in. Passwords and MFA policy are then governed by your identity provider.
Session management
Every device and browser signed in to your account holds a session. Review them periodically — especially after using a shared or site-office machine.
Review active sessions
Account Settings → Security lists every active session with device, browser, approximate location, and last-active time. Your current session is marked.
Sign out anything you don’t recognise
Terminating a session revokes it immediately — the device is signed out on its next request.
Change your password if a session looked suspicious
A revoked session cannot come back, but a compromised password can create a new one. Rotate it and keep MFA on.
Bring Your Own Key (BYOK)
On Enterprise plans, your organisation can hold the encryption key for data at rest. Alloovium encrypts stored data with your AWS KMS key, so revoking the key revokes Alloovium’s ability to read your data.
Confirm your plan supports BYOK
BYOK is an Enterprise-plan feature. Contact sales if you are unsure what your organisation is on.
Nominate an AWS KMS key
Create or choose a KMS key in your own AWS account. Your security team keeps full control of the key policy.
Complete setup with Alloovium
Alloovium walks your admin through the key-policy grant and re-encrypts your stored data under your key. From then on, all data at rest uses it.
BYOK encryption
Enterprise plans support Bring Your Own Key (BYOK) encryption for data at rest. With BYOK, Alloovium uses your organisation's AWS KMS key to encrypt all stored data. Contact sales to enable BYOK.