
Getting started
Setting up your workspace
One organisation, many projects, and user groups that decide who can do what. Understand the three layers and set them up in minutes.
How the workspace fits together
| Layer | What it holds | Where to manage it |
|---|---|---|
| Organization | Your company: the template library, playbook, lessons, contacts, and every member. | Organization in the sidebar |
| Projects | One workspace per contract, tender, or site — documents, people, meetings, claims, timeline. | Projects in the sidebar |
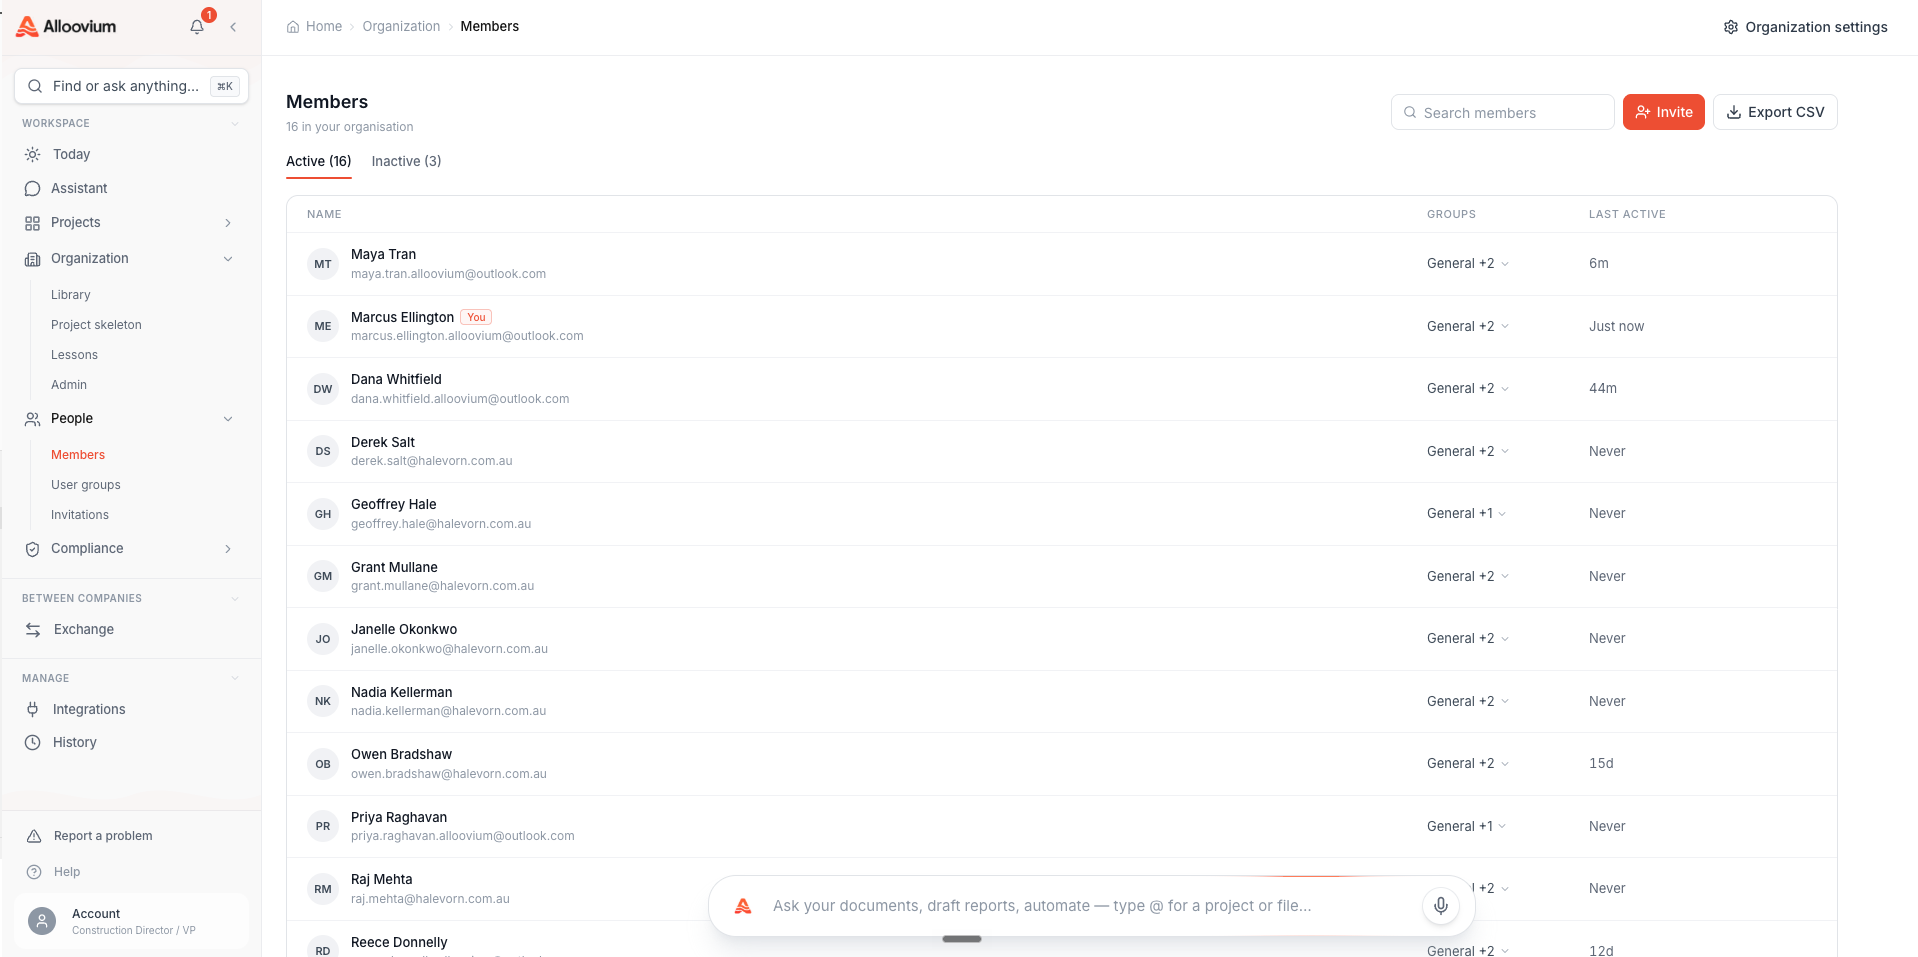
| User groups | Named sets of people with a permission matrix. Groups grant access — to the org and to projects. | Organization → People → Groups |
Your account is scoped to your organisation — all colleagues who sign up with your company share one tenant, one library, and one set of groups. Projects are private by default; a project is visible only to the people whose groups grant access to it.
Getting set up
Create your account
Sign up at alloovium.com with your work email. If your company already uses Alloovium, ask for an invite instead — you'll inherit the right access automatically.
Create your first project
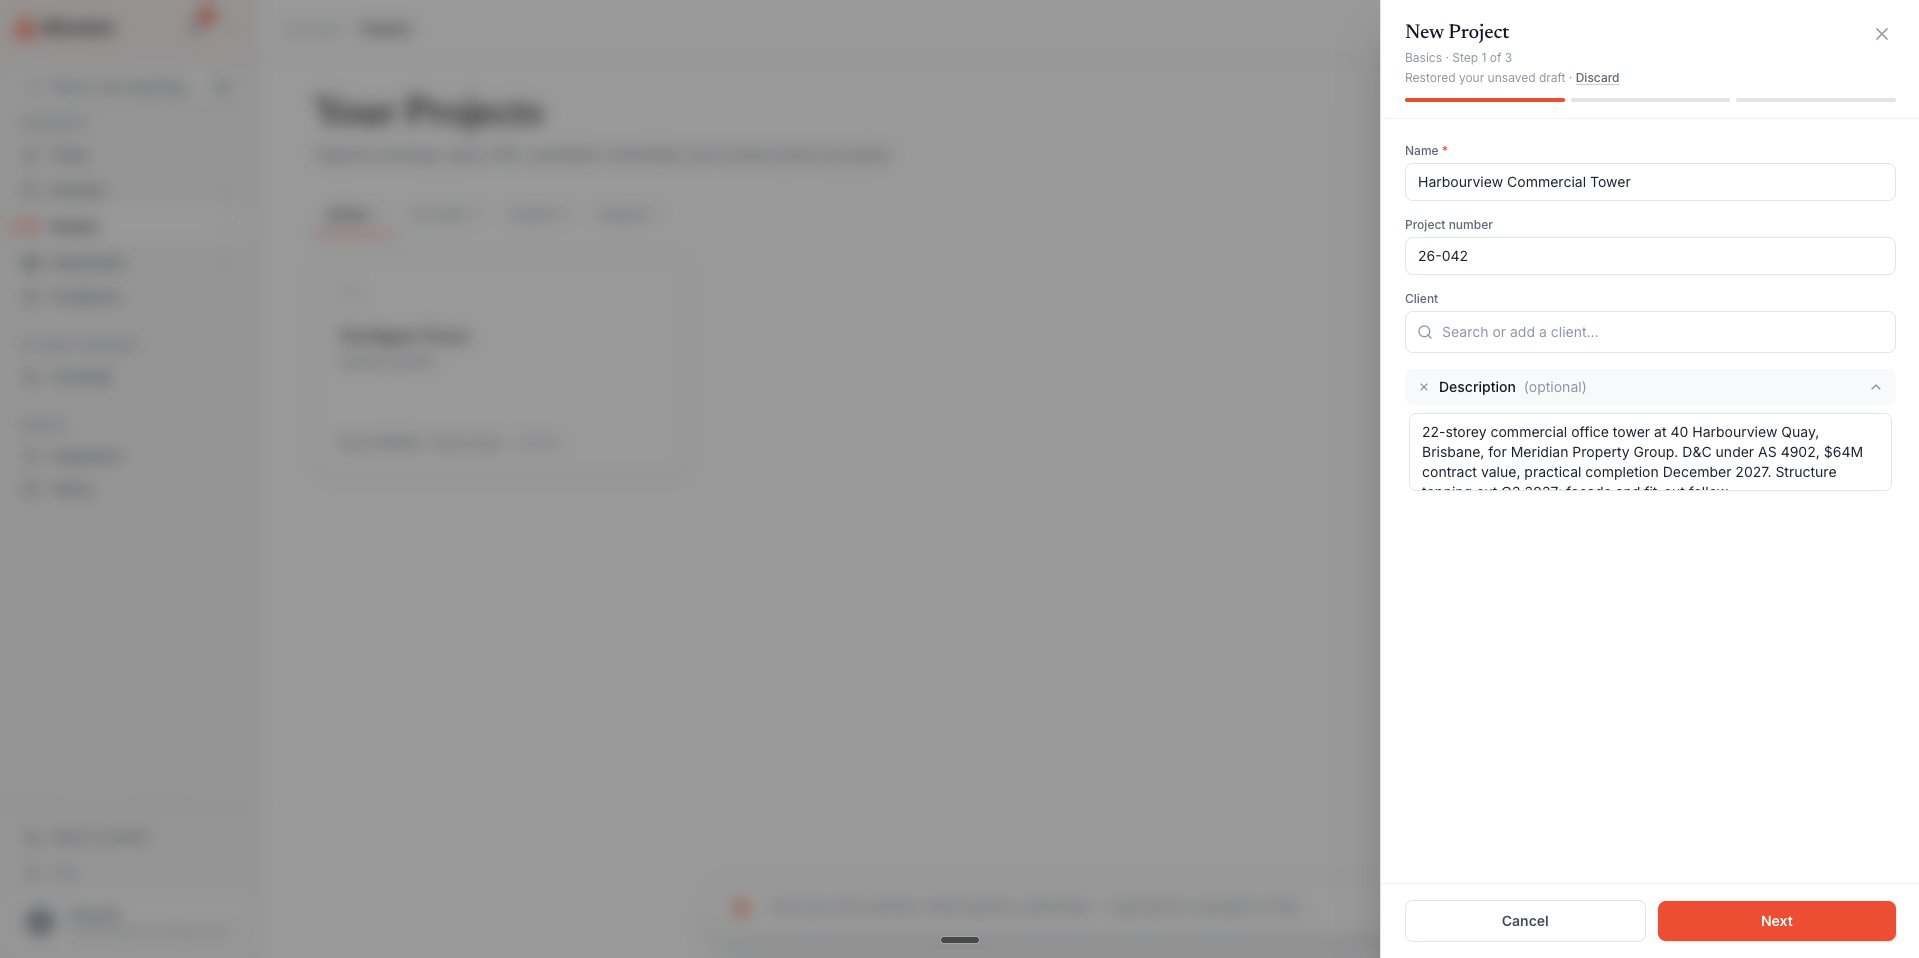
Click "New Project" from the Projects page. Name it after the job — "Calabria Substation D&C" — and add a description so teammates recognise it.
Upload your documents
Drag files or folders into the project. PDF, DOCX, XLSX, and PPTX are all understood; drawings get title-block extraction automatically.
Connect your systems
Head to Integrations and connect Outlook or Gmail, SharePoint or Google Drive, and any construction platforms you run — the record stays current without re-uploading.
Inviting your team
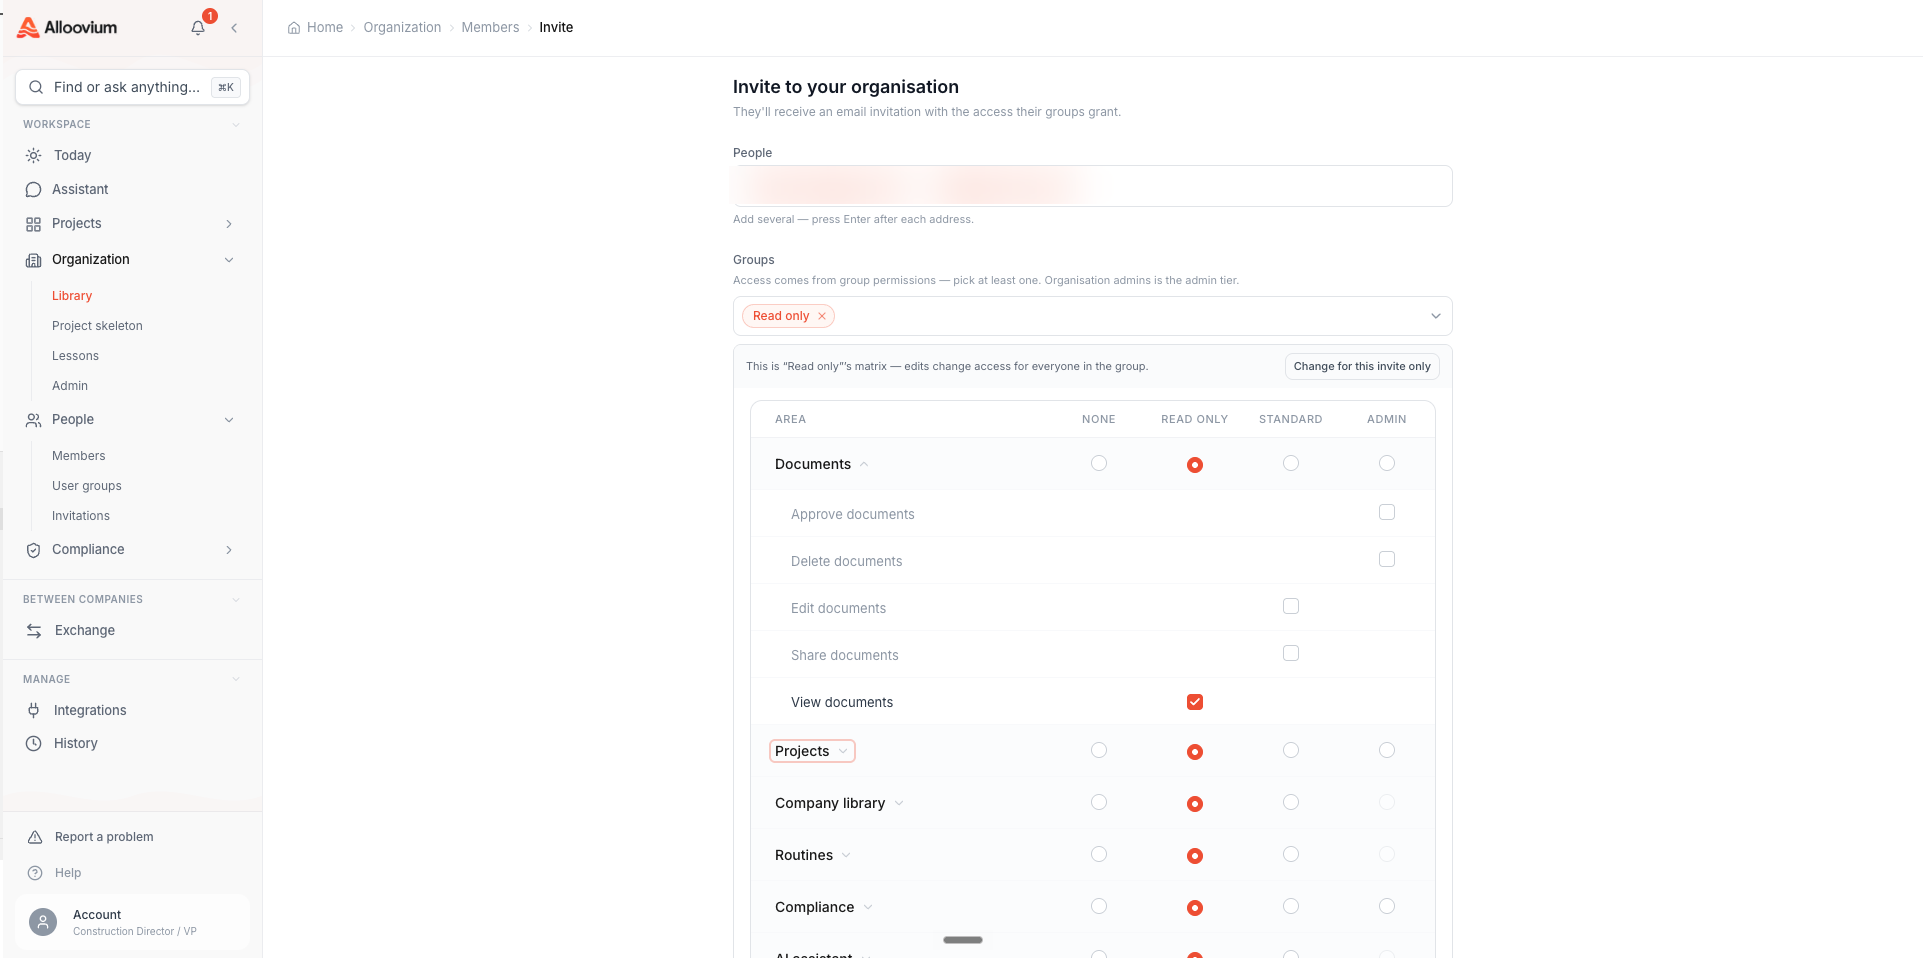
Alloovium grants access through user groups. Each group carries a permission matrix — which areas its members can see and which actions they can take. When you invite someone, you pick their groups; the safe Read-only group is preselected, and adding someone to your admins group is what makes them an org admin.
Open the invite panel
Organization → People → Invite for company-wide access, or a project's People tab to invite someone to just that job.
Enter their email and pick groups
Choose one or more groups. Create a new group inline if none fits — you can copy an existing group's permissions as a starting point.
Send it
They get an email link, see who invited them and to what, and land in the right projects on first sign-in.
Coming from roles?
There are no per-person Viewer/Editor/Admin roles to assign anymore — group membership is the single source of truth for what someone can do. See Permissions for the full matrix.