
Administration
Admin & teams setup
Everything you need to stand up your organization in Alloovium: adding your colleagues, deciding who can do what, grouping people into teams, and connecting single sign-on.
Overview
An organization in Alloovium is your company workspace. It holds your projects, documents, templates and the people who work on them. This guide covers the one-time setup an administrator performs: inviting people, granting them the right access level, organizing them into teams, and connecting sign-on.
Most of this is managed from the Organization area, under the People tab. For day-to-day sharing of individual projects and documents, see Teams and Sharing. This page focuses on setting the organization up, not the everyday collaboration that follows.
Your organization
One company, one workspace. Everyone you invite becomes a member of it.
When your company is provisioned, a single organization is created and you are set up as an administrator. Every person you invite joins this same organization and shares its projects, document library, templates and standards. A person belongs to exactly one organization.
You manage the organization from the Organization area, which is divided into a few tabs:
| Tab | What it holds |
|---|---|
| Library | Shared documents available across your projects. |
| Company | Company profile, and the standards and codes you work to. |
| Contacts | Your directory of companies and external contacts. |
| Playbook | Default project structure and reusable lessons. |
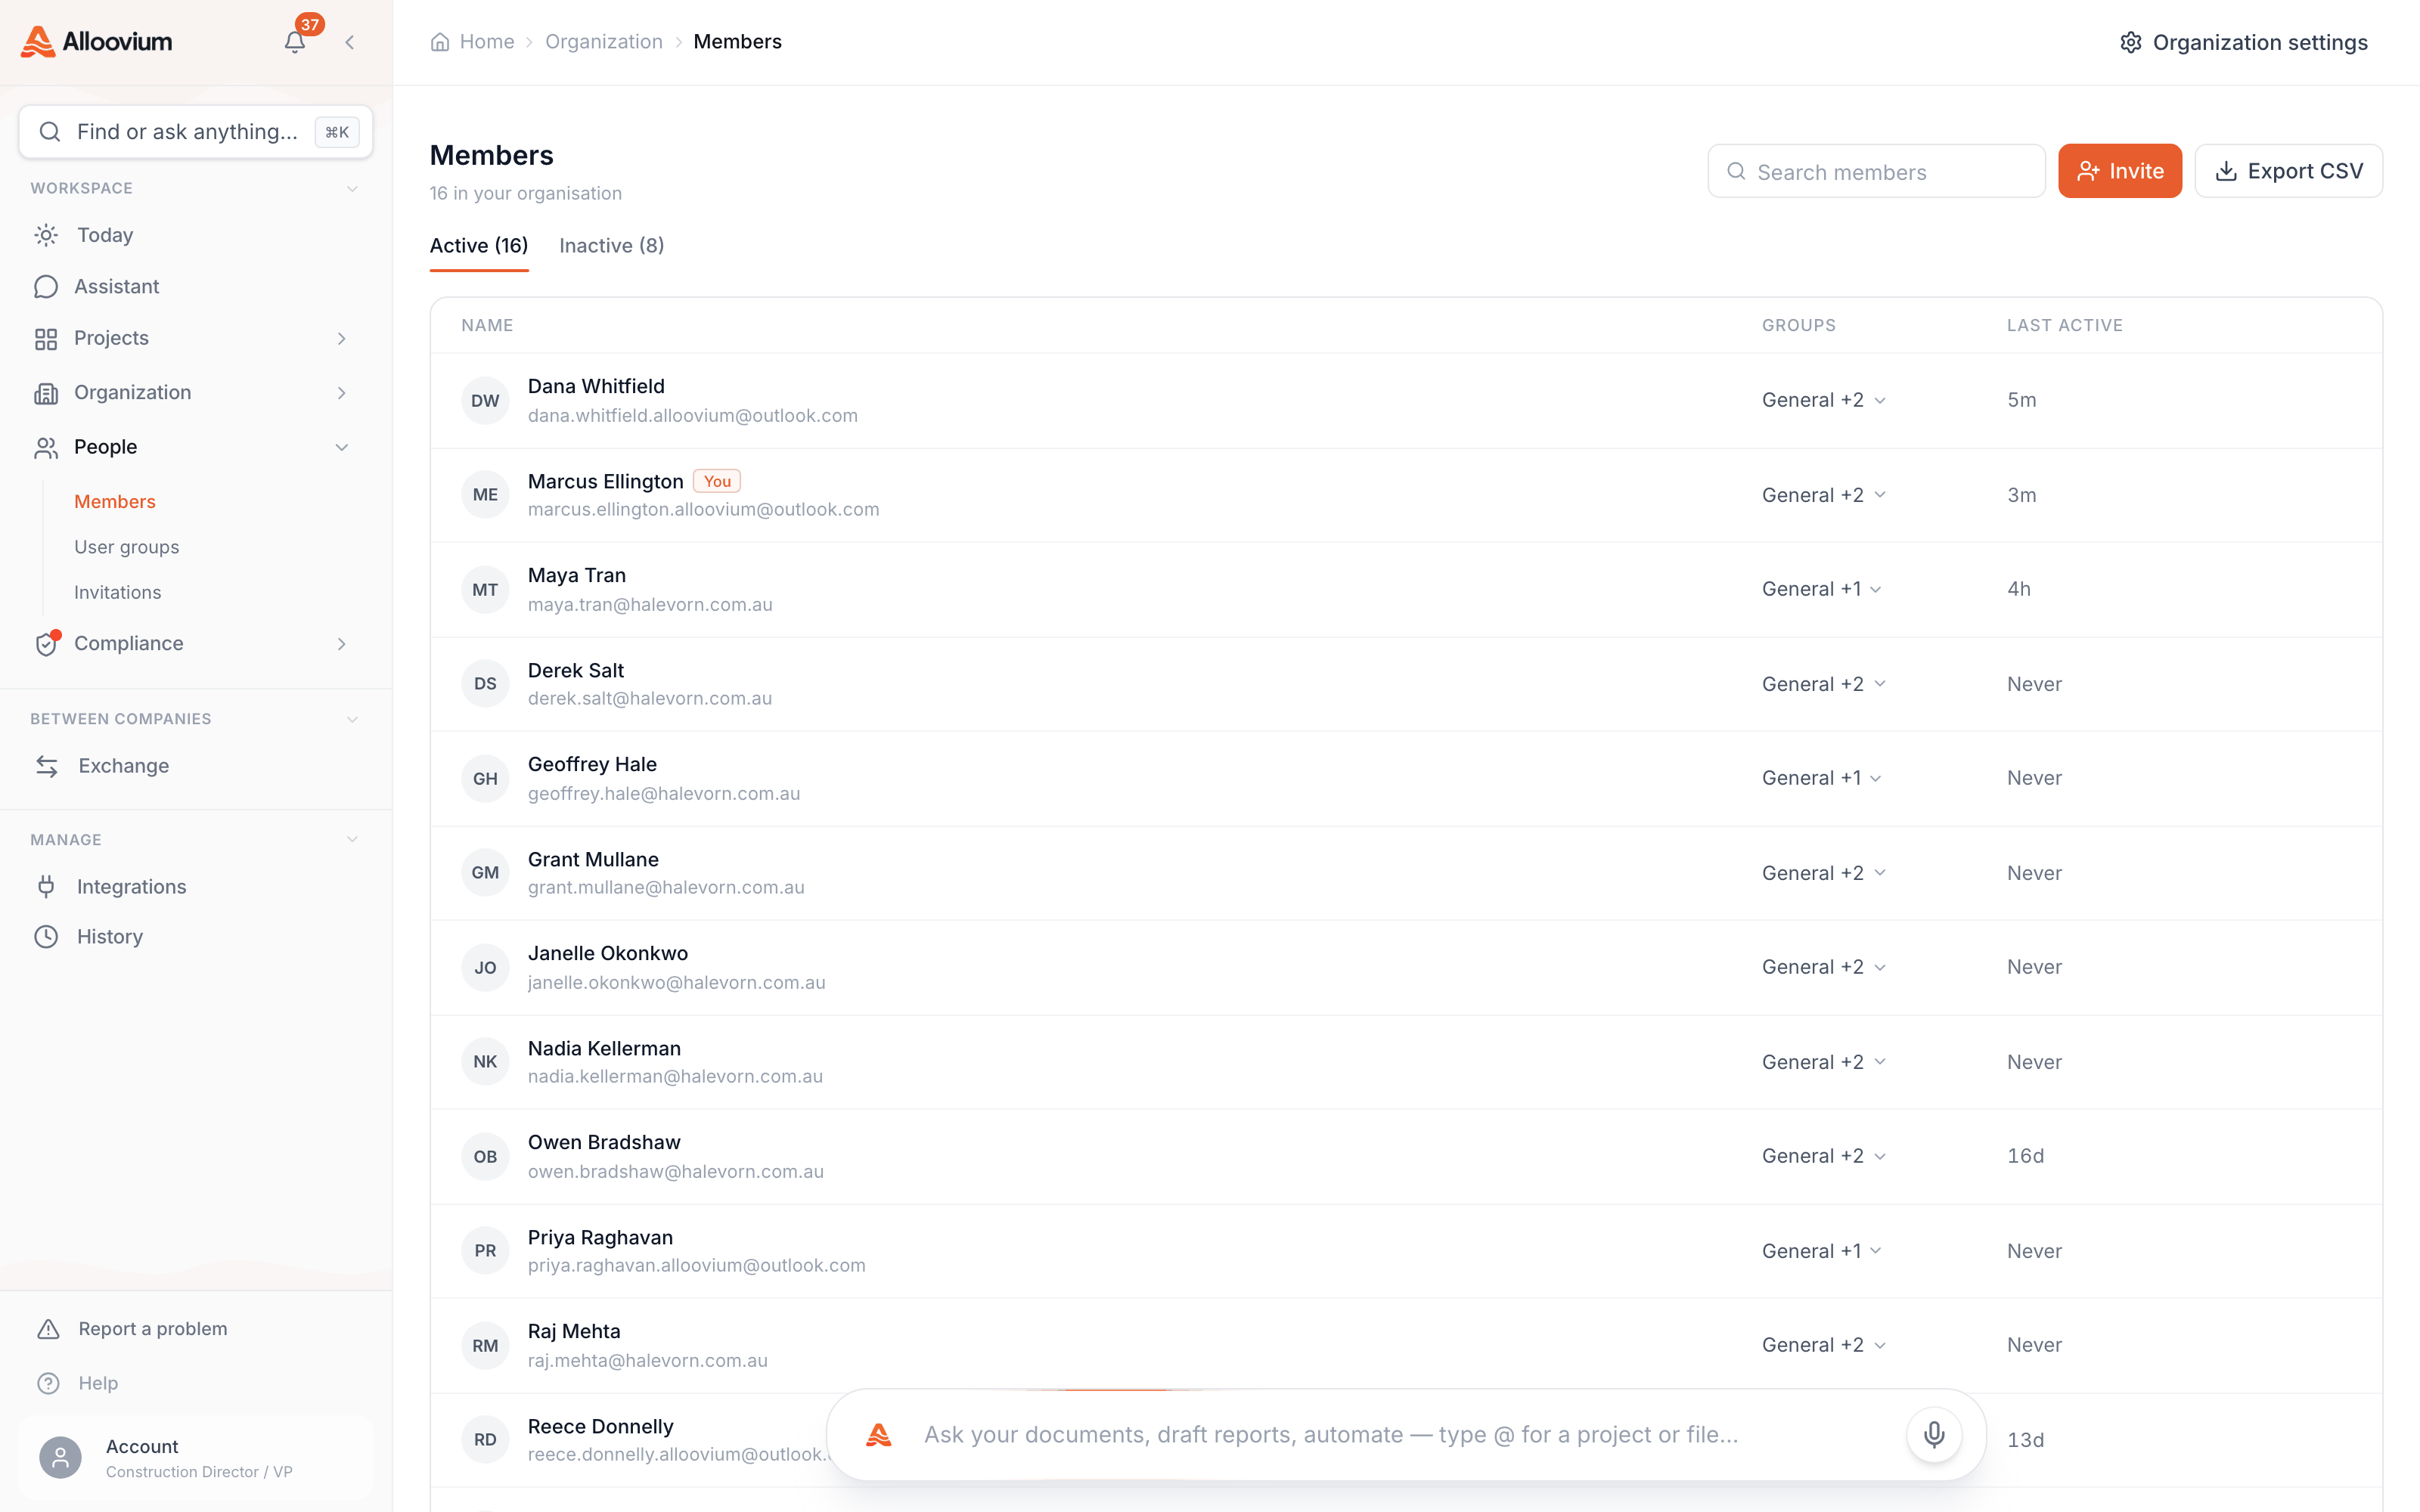
| People | Members, teams and roles — where most admin work happens. |
Inviting people
Send an email invitation and choose the person's role and teams up front.
You add colleagues by sending an email invitation from the People tab. Each invitation carries a role and, optionally, one or more teams — so people land with the right access from their first sign-in.
Open the People tab
Go to the Organization area and select People, then choose to invite a member.
Enter the email address
Add the person’s work email. You can review existing members and recent invitees to avoid duplicates.
Choose a role
Pick a role from your organization’s role catalogue. The role determines the person’s access level.
Assign teams (optional)
Add the person to one or more teams so they immediately see the right projects.
Send the invitation
Alloovium emails a secure, time-limited link. When the person accepts, their account is provisioned on your organization.
Pending invitations are listed on the People tab, where you can revoke one that was sent in error or is no longer needed. Invitations expire after a set period, so a stale link cannot be used later.
Accepting an invitation
The invited person clicks the link in the email, signs in, and is added to your organization automatically. They do not need to be added a second time once they accept.Roles & access levels
A role sets how much a person can do across the organization.
Roles map to a set of organization-wide access levels. The access level is what governs administrative capability; the role label (for example a job title such as Site Engineer or HSEQ Manager) is what you assign day to day, and it carries the access level with it.
| Access level | Intended for | Can manage the organization |
|---|---|---|
| Org admin | People who administer the whole workspace — members, teams, settings. | Yes |
| Project admin | People who lead individual projects and their teams. | Within their projects |
| User | Everyday members who work on projects they are given access to. | No |
| Viewer | People who need read-only visibility into projects they are given access to. | No |
Your organization also keeps a catalogue of roles that reflect real construction job titles — for example Project Manager, Superintendent, Site Manager, Contracts Manager or Safety Officer. Each catalogue role is linked to one of the access levels above, so choosing a role for a person sets both their job title and their access in one step. Administrators can add, edit or archive catalogue roles to match how your teams are organized.
Project- and folder-level access
The access levels here are organization-wide. Access to a specific project or folder is set separately when you share it. For the granular, per-project permission model, see Permissions.Teams
Group people so you can grant access to projects in one move.
A team is a group of people within your organization. Teams make access management simpler: grant a team access to a project and every member of that team inherits it, rather than adding each person one by one. Teams can be nested, so a division can contain the crews that report into it.
Internal, external and company teams
Teams come in a few flavours. An internal team is the usual grouping of your own members. An external team holds outside individuals — for example a client or subcontractor contact who does not have a full account — so you can share specific material with them. A company team links to an entry in your Contacts directory and reuses that company's identity.
You manage teams and their members from the People tab. Within a team, members carry a team role, and you can grant the team access to a project as read-only, read-write, or admin.
Sign-in & SSO
Alloovium uses a managed identity layer for secure sign-in.
Sign-in is handled through a managed authentication layer. People sign in with their credentials and, once verified, are placed into your organization based on the invitation they accepted. Their session is validated on every request, so access follows the role and teams you assigned.
If your company requires a specific sign-in method for your rollout — such as connecting your identity provider — arrange this during onboarding so it is configured before you invite people at scale.
An org admin can also enforce multi-factor authentication across the organization, requiring every member to complete a second verification step at sign-in.
Invite first, then sign in
A person must have an accepted invitation to your organization before they can reach your workspace. Signing in without an invitation does not grant access to your projects or documents.Organization settings
Company profile, standards, playbook and workspace-level controls.
Beyond people, the Organization area holds settings that shape how your whole workspace behaves. These are worth setting early so new projects and generated documents start from the right defaults.
| Setting | Where | What it does |
|---|---|---|
| Company profile | Company tab | Your company name and description, used across the workspace. |
| Standards | Company tab | The codes and standards you work to, which inform reviews and checks. |
| Project skeleton | Playbook tab | A default folder structure applied to new projects. |
| Lessons | Playbook tab | Reusable lessons that resurface on relevant documents. |
Administrators can also manage encryption settings for the organization, including the option to use a customer-managed key. If a member needs to leave the organization, they can do so from the Company tab; this removes them and revokes their team access, and it cannot be undone.
Leaving is permanent
Leaving an organization revokes access immediately and is not recoverable. If you are the only administrator, appoint another org admin before you leave so the workspace is not left unmanaged.